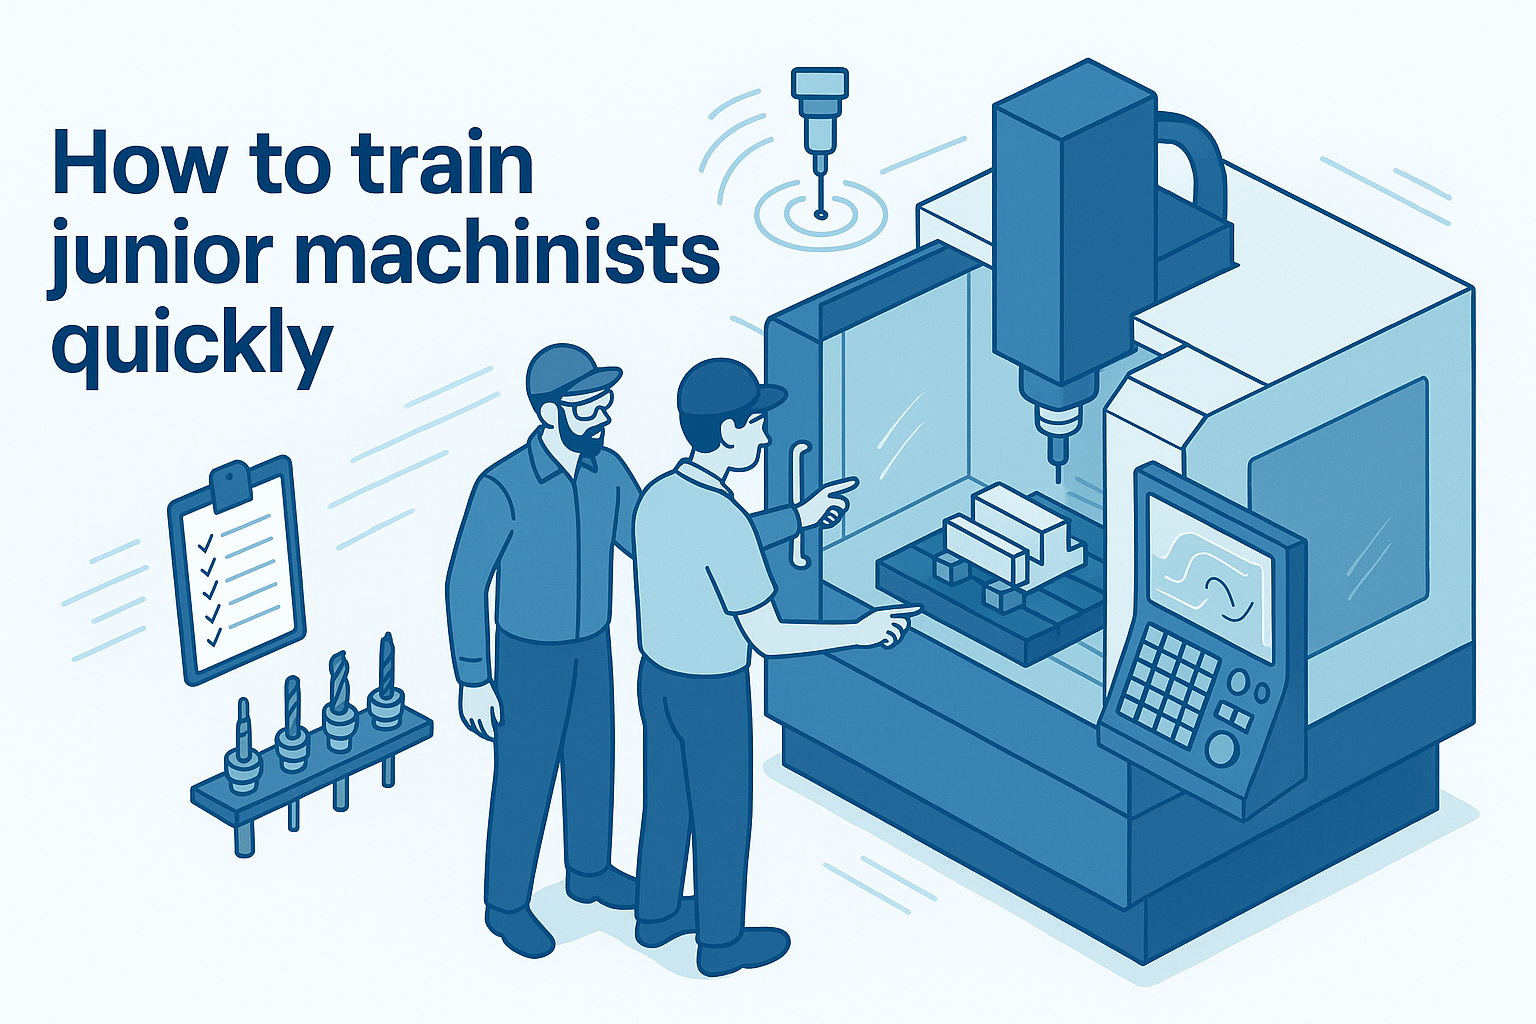
Manufacturing teams often ask a simple question with a hard answer: how to train junior machinists quickly without hurting quality. The good news is that speed and rigour can live together. With a clear plan, smart use of tools, standard working procedures, and shop-floor coaching, new machinists can become productive in months, not years.
What success looks like
Before you start, define the finish line. Clear outcomes keep training focused and measurable.
- Independent on simple parts – Can set up and machine without constant supervision
- Drawing & GD&T – Reads drawings, interprets and applies GD&T correctly
- Deburring – Consistently delivers safe, finished parts with correct edge breaks/chamfers
- First article – 80%+ first-pass yield on approved jobs
- Part setups – Within 20% of benchmark time for similar parts
- Scrap/rework – At or below shop average
- CAM edits – Safely adjusts feeds, speeds, and stepovers under supervision
Build a practical learning path
Front-load the essentials that unlock safe productivity.
- Safety and housekeeping – PPE, manual handling, machine maintenance, swarf management
- Tooling basics – Holders, toolwear, stick-out, runout, presetting
- Datum setting - Probe, wobble bar, gauge blocks use
- Workholding – Vises, soft jaws, parallels, clamping forces
- Materials – Aluminium, steels, plastics, chip formation, heat, and burrs
- Metrology – Understanding GD&T, using calipers, micrometers, height gauges, and checking datums
- Communication – Reading travellers, sign-offs, non-conformance flow
30-60-90-day plan
Days 1 to 30: foundations and repetition
- Shadow a senior machining simple parts
- Learn and apply basic shop safety and housekeeping standards
- Run warm-ups and basic maintenance at the start of each shift
- Load tools, indicate for run-out and set length and diameter offsets
- Set work offset datums using probe, wobble bar, setting blocks
- Load material and run proven programs for parts with relaxed tolerances
Days 31 to 60: controlled independence
- Own repeat proven jobs
- Design basic work holding such as softjaws, verify with a mentor, and run first article
- Learn basic deburr and finishing standards
- Make basic CAM edits under supervision, i.e. stepovers and stepdowns
- Use calipers and micrometers to verify part dimensions against drawing features
- Inspect first-off parts against a short checklist, escalate when out of tolerance
- Record cycle time, issues, and fixes in a short shift log
Days 61 to 90: breadth and confidence
- Switch between different machine families
- Work with a range of materials
- Set up and prove-out first article with minimal guidance
- Adjust tool wear offsets to bring part features into tolerance per drawing GD&T
- Monitor tool life and make amendments to improve efficiency
- Tweak toolpaths for surface finish or cycle time within agreed guardrails
- Contribute to continuous improvement ideas on fixtures and process stability
Create a CNC training checklist
A short checklist prevents skipped steps and speeds repetition.
- Safety check, guards closed, wearing all necessary PPE
- Program loaded, version and revision checked
- Tools verified for type, length, wear offsets adjusted, and runout
- Billet size, position and certification number checked
- Workholding cleaned, clocked, and torqued to spec if required
- Probe routine completed and datum offsets set
- Dry run to test program, feed and rapid reduced before program run on material
- Inspection plan at the machine, gauges present and calibrated
- First article signed off before batch release
Speed up learning with the right tools
The aim is fast feedback and fewer unknowns for trainees.
- Digital work instructions – Photos, short clips, and annotated drawings beat long text
- Proven CAM templates – Default strategies for materials, cutters, and machine families
- Comprehensive tool database – Feeds and speeds tied to tool and material usages
- In-cycle probing – Teach trainees to trust data for datums and in-process checks
- Standardised work holding – Robust and repeatable processes
When to introduce CAM programming
Introduce CAM once a junior machinist can reliably run proven jobs and make safe G-code edits. At this stage, they understand how cutting parameters and program structure affect machining outcomes. Start with editing existing programs under supervision before moving to full programming.
- Cutting parameters – Understands surface speed, chip load, stepovers/stepdowns, and how these affect tool life, surface finish, and cycle time.
- Program composition – Can break down proven programs into roughing vs. finishing strategies, safe start blocks, linking moves, and cutter compensation.
- G-code awareness – Reads common codes (tool calls, feeds/speeds, coolant, offsets) and links them to real machining outcomes.
- Material behaviour – Has observed and compared how different materials respond to changes in feeds, speeds, and toolpaths
- Tool library context – Recognises how standardised shop libraries connect CAM parameters to consistent, repeatable machine results.
Mentoring that works on a busy shop floor
- Standardised training documents – Prevent mixed messages by using agreed processes
- One mentor per trainee – Avoid repetition and conflicting advice by assigning a primary mentor
- Daily five-minute stand-up – Review yesterday’s issues and set today’s focus
- Pairing blocks – Schedule focused two-hour sessions, especially before a trainee takes on new tasks, rather than scattering interruptions across a shift
- Trainee checklist at the machine – Keep a visible record of skills gained and upcoming targets for quick reference and accountability
Common pitfalls to avoid
- Complex multi-op parts too soon – Dents confidence and spikes scrap.
- Difficult materials too early – Overwhelms juniors with tool breakage and finish issues before they’ve mastered core strategies.
- Over-reliance on CAM early – No feel for cutting parameters or G-code.
- Inconsistent tool libraries – Forces guesswork, kills repeatability.
- Unclear escalation paths – Juniors hesitate or make costly mistakes.
- Coaching only by exception – No structured practice or steady growth
- Mentor overload – Shallow, inconsistent coaching.
- Training in binders, not at machines – Disconnects learning from reality
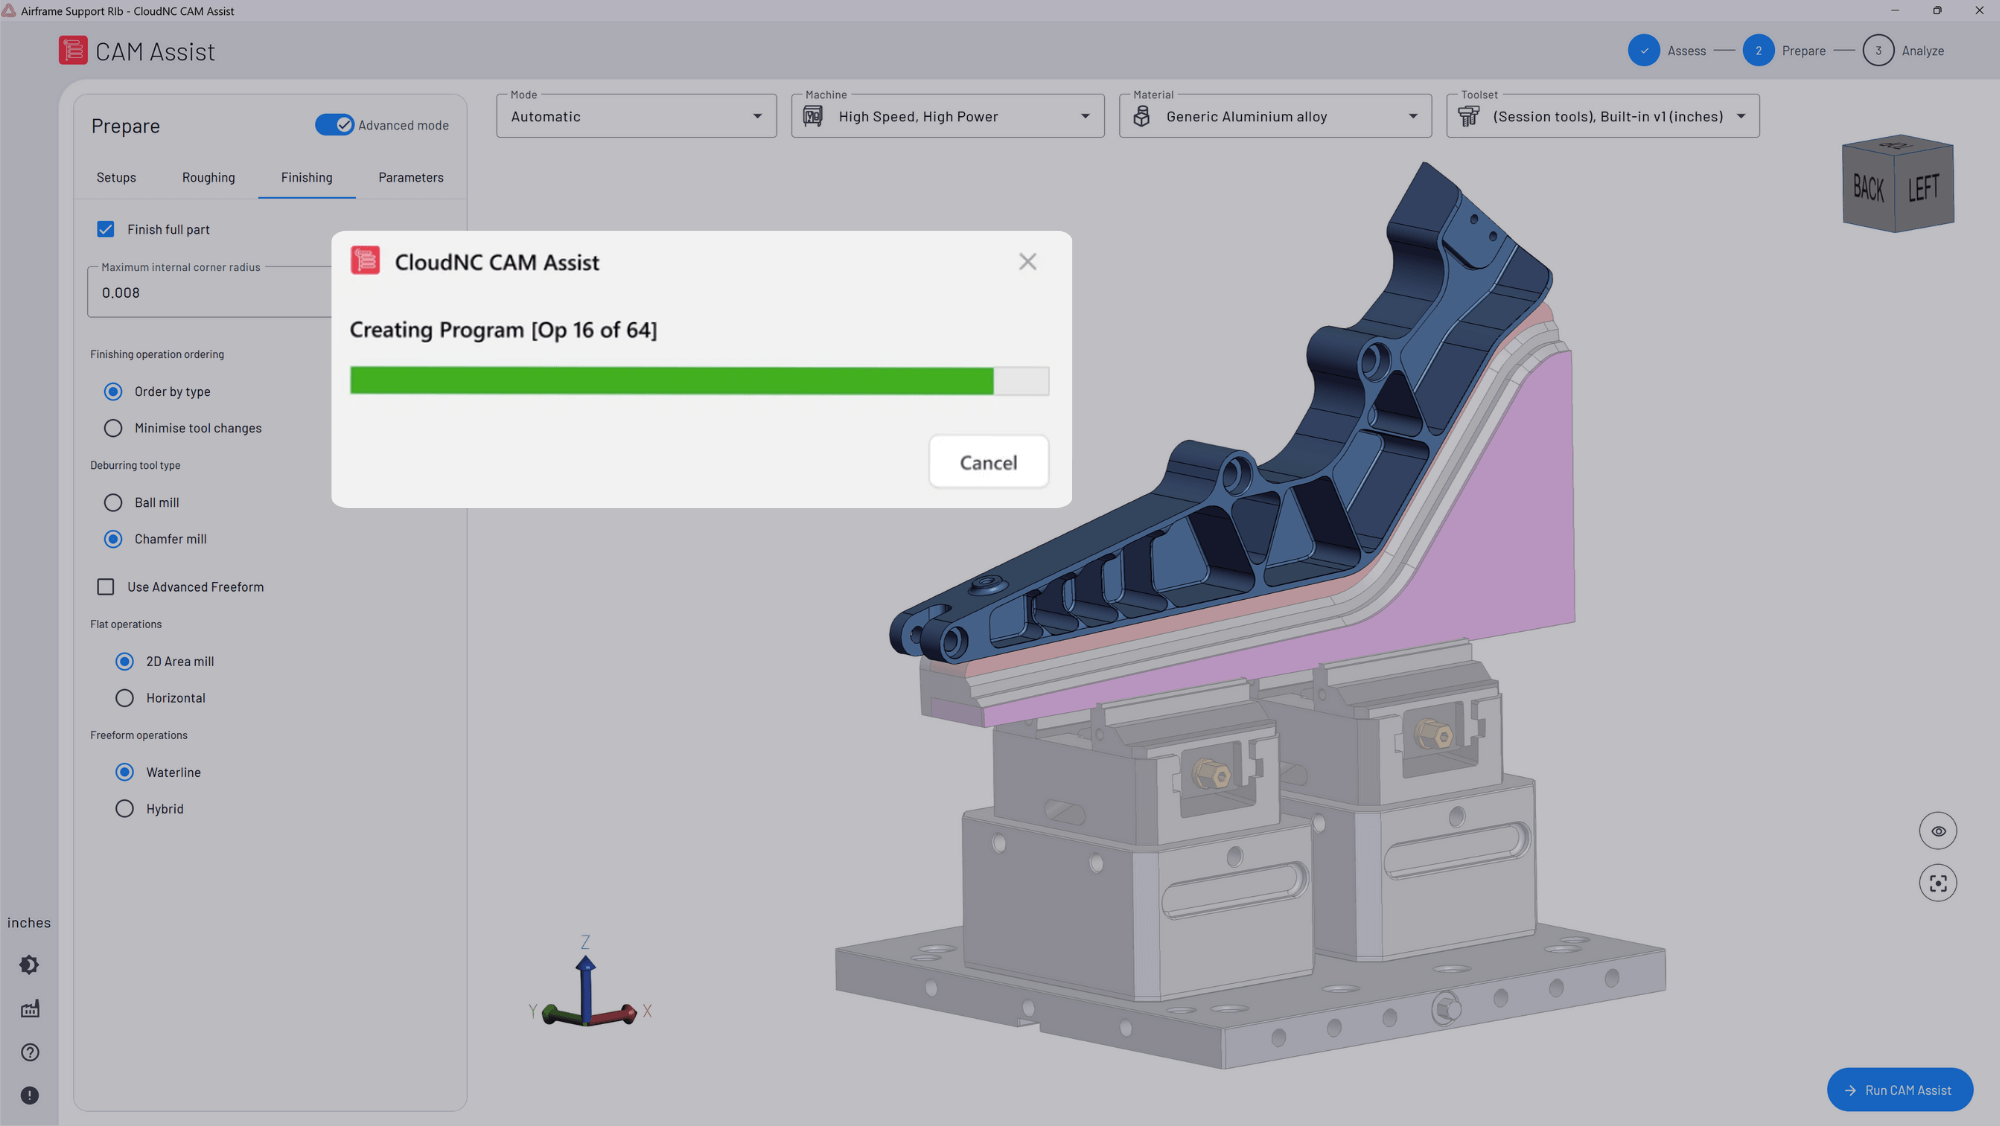
How CAM Assist can help trainees progress faster
CAM Assist from CloudNC accelerates learning by showing junior programmers the full composition of a CAM program — from roughing through floor and wall finishing, hole making, and deburring. By generating toolpaths automatically, it gives trainees a chance to explore how the AI has sequenced operations, chosen cutters, and set parameters within the software. This not only builds familiarity with the CAM environment but also helps juniors understand proven strategies and trade-offs. With mentors reviewing and adjusting outputs, each job becomes a practical lesson, and when paired with shop templates, tool libraries, and clear guardrails, CAM Assist shortens the loop between importing the CAD model and taking the first cut on the machine while reinforcing machining fundamentals.
Measure what matters
Track a few metrics and coach to them:
- First article pass rate
- Setup time for a standardised reference job
- Scrap and rework percentage
- Unplanned stops per shift and their causes
- Time from CAD to first chips on a simple part
- Number of repeat jobs a trainee can run without help
A one week quick start
If you are starting from zero, use this simple plan.
- Day 1: safety, housekeeping, and a shop tour with live demonstrations
- Day 2: tooling and probing practice on a training billet
- Day 3: soft-jaw basics, clamp and datum checks
- Day 4: run a repeat job with mentor oversight and complete first article
- Day 5: edit CAM stepovers on a practice part, document the effect on finish
Frequently asked questions
How long does it take to train a junior machinist
For simple repeat parts, many shops see useful independence within 6 to 8 weeks if coaching, checklists and standardisation are consistent. Full cross-training takes longer, so keep early wins in a narrow scope.
What machines should a trainee start on
Pick one family and stick to it at first, ideally a 3 axis milling machine. Consistency in controls, tool libraries, and fixtures speeds learning and reduces errors.
How do we reduce scrap during training
Scrap is reduced through close mentoring, clear and precise work instructions, standardised workholding and datums, probing with first-article sign-off, and starting trainees on forgiving materials with generous tolerances.
When should a trainee start with CAM
A trainee should begin CAM once they understand cutting parameters, can interpret proven programs and G-code, have observed material behaviour, and can link drawing requirements to machining strategies. With this foundation, they’re ready to start by editing programs under guidance.